
What is a trailing cursor effect?
Trailing cursor effect is an animation in which as you move the cursor around the page, a series of patterns trail behind the cursor. Here is a step by step tutorial on how to create the design in Figma.

Step 1
The first step is to create a frame in figma. Click F and draw a frame of your size or select desktop frame preset.
Step 2
Design your frame.

Step 3:
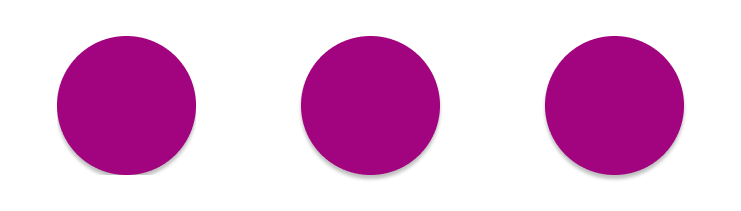
Create three circles and add colors to the circles, Next make each of the circles a frame.You can create the frames on Mac by clicking: Option + CMD + G and Ctrl + Alt + G on Windows
Step 4:
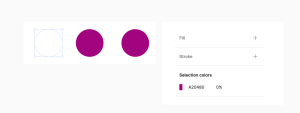
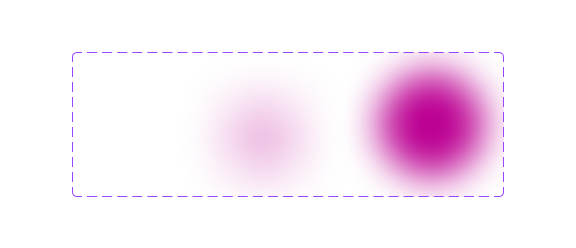
Select the first circle and reduce the opacity of the circle to 0% from the colors section as shown in the image below.
Step 5:
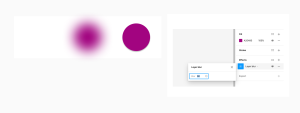
Select the second circle and click on plus next to effects, choose layer blur and set layer blur value to 66 as shown in the image below.
Step 6:
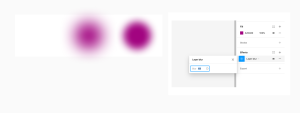
Select the third circle and click on plus next to effects, choose layer blur and set layer blur value to 44 as shown in the image below.
Step 7:
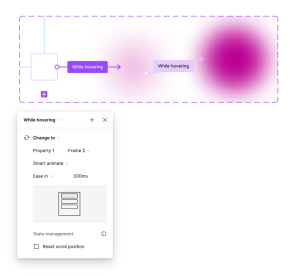
Next Step is to create each circle as a component and combine them as variants. To do this select each circle-> right click -> click on create component from the menu. Select all three components and Click on combine as variants under the components section.
Step 8:
Click on prototype and connect each circles and change the animation setting as given below.
Step 9:
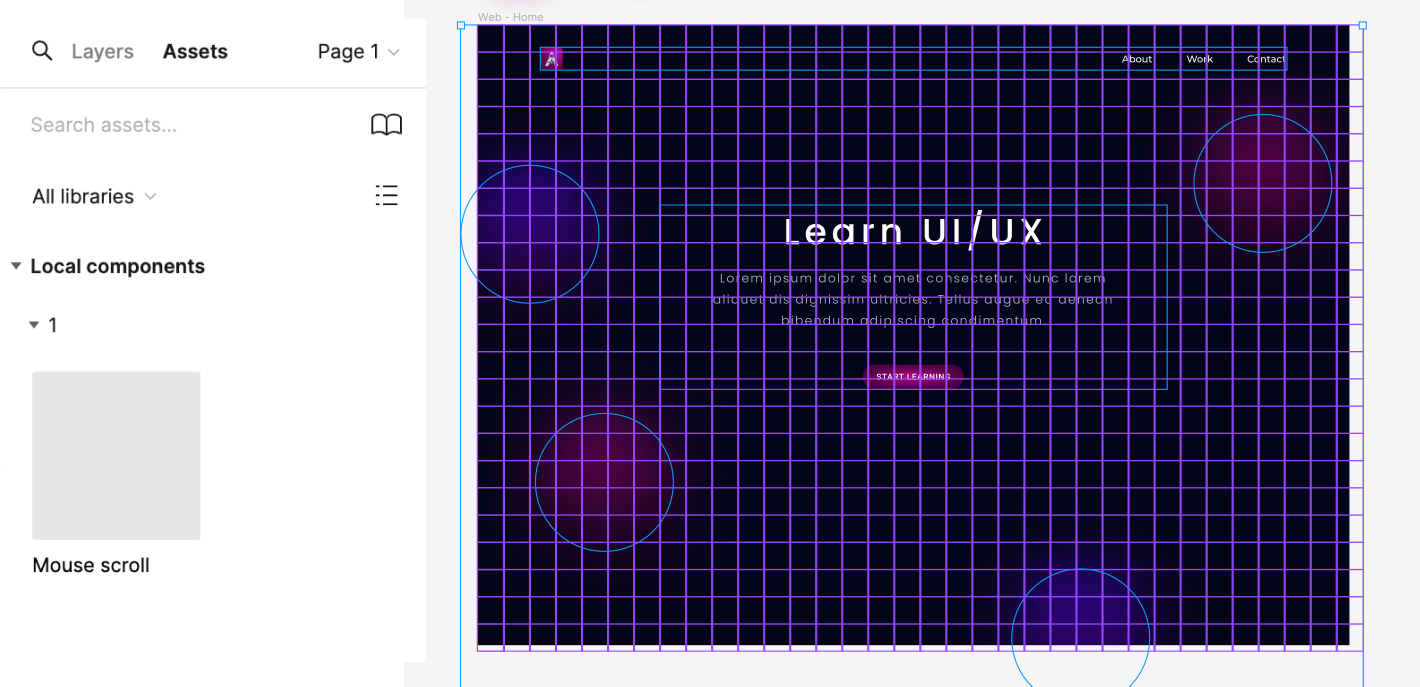
From asset panel pull the component into your frame and arrange it like a grid as shown in the image below
Step 10:
That’s it!! now run the prototype you will have the trailing cursor effect.

I’m a UI/UX designer based in Bangalore, India. I’ve enjoyed turning complex problems into simple, beautiful and intuitive designs.


