
What is Conditional Fields?
Conditional Fields refers to a feature that allows you to show or hide form fields based on conditions you specify. It is useful for creating dynamic display and interactive forms that adapt to user inputs and specific scenarios.
For example you might have a form where users can select their preferred services, such as app development or digital marketing, so depending on the users choice you might want to display different field for each option. By using conditional fields you can make sure that only relevant fields are displayed on the users selection.
Contact Form 7 allows you to do this with a simple plugin.
Using Conditional Fields for Contact Form 7:
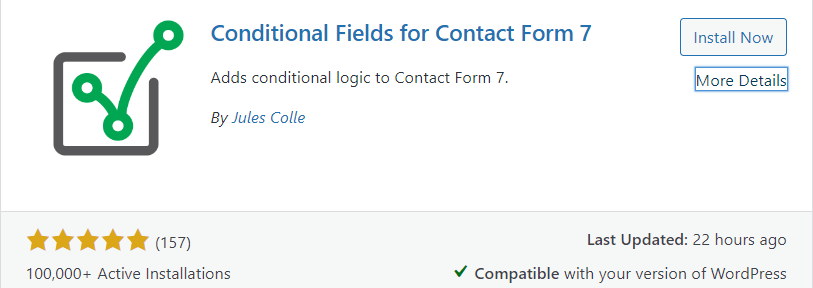
Step1: Go to your WordPress Dashboard and Plugins>Add New Plugin. Search for Conditional Fields for Contact Form 7
Step2: Install and activate the plugin.
In this example, we are going to make a product inquiry form, the user will select any one product of his choice and then depending on the users choice required fields will show up.
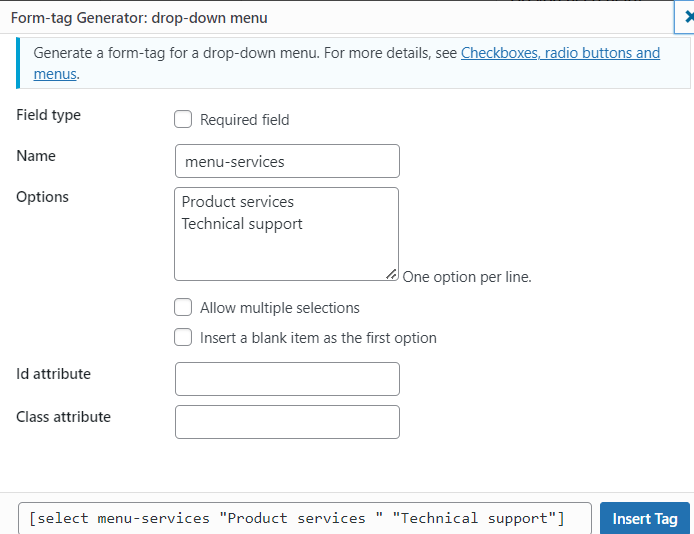
Step1: Create a drop-down menu for products and insert tag.
Step2: And create a drop down menu for Product services and technical support.
Step3: Next create conditional field group for all the services. Click on conditional field group and insert tag. I have created a group called products.
Step4: Customize as you want. I have just added groups and a drop down menu for product services.
Step5: So when you click on product services it will ask for choose clothing type. And a text will appear asking for Number of items.
Nested group: You can create group inside another group, here group-quantity is a nested group.

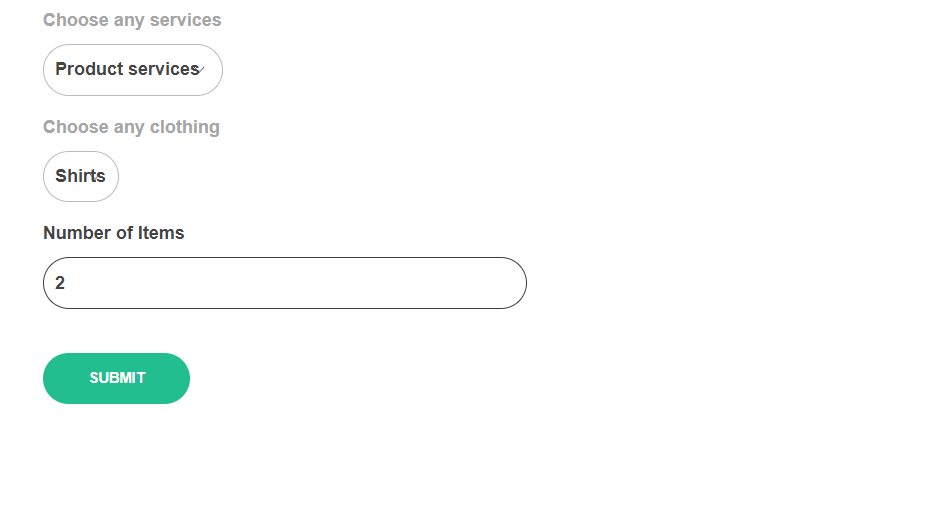
Step6: This is the result for the above text field. I have selected Product services and in clothing I have selected shirts so it is asking me for numberof items and I have mentioned 2.
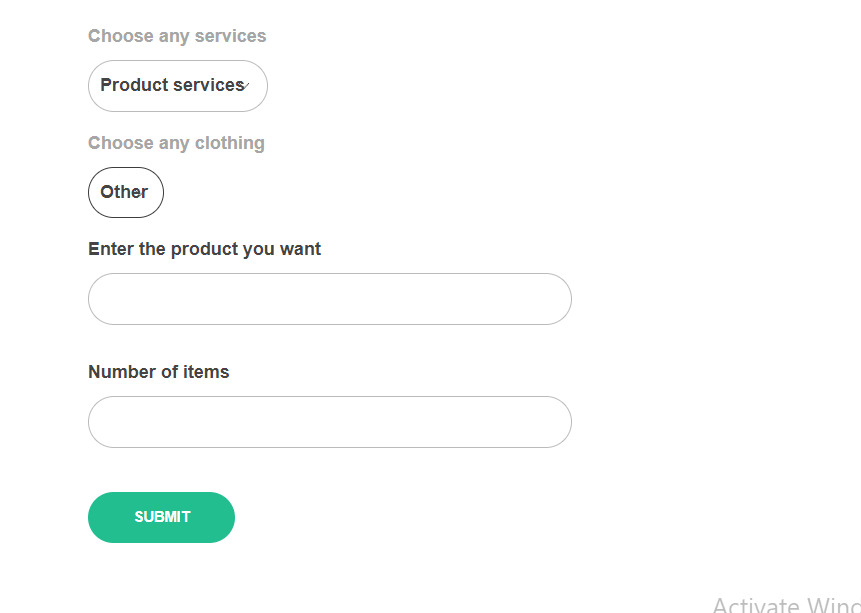
Step7: It is the same for all the other types of clothing and when the user selects other. It will ask to Enter the product you want and number of items.
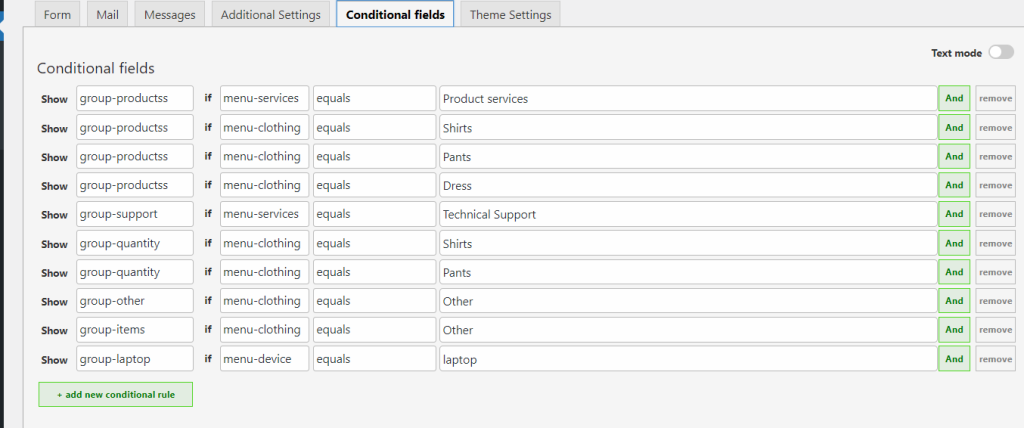
Step8: This is the Conditional Fields Settings. In this you have to select a group and menu that you have created and enter a value.
Step9: It is the same for the other product as well. First create a menu and insert it, then create a group and customize it.
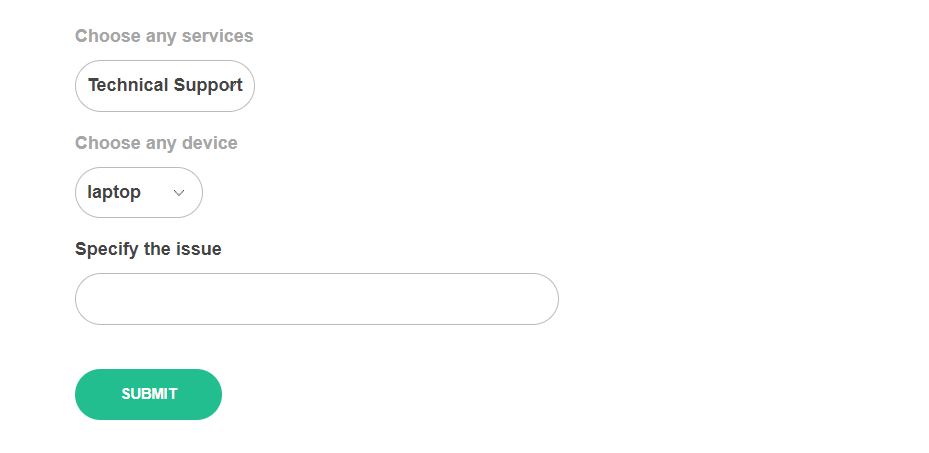
Step10: When the user selects Technical Support. You should choose the device, in this I have mentioned laptop, smartphone, tablet and Specify the issue.
Step11: It is the same for other devices as well.
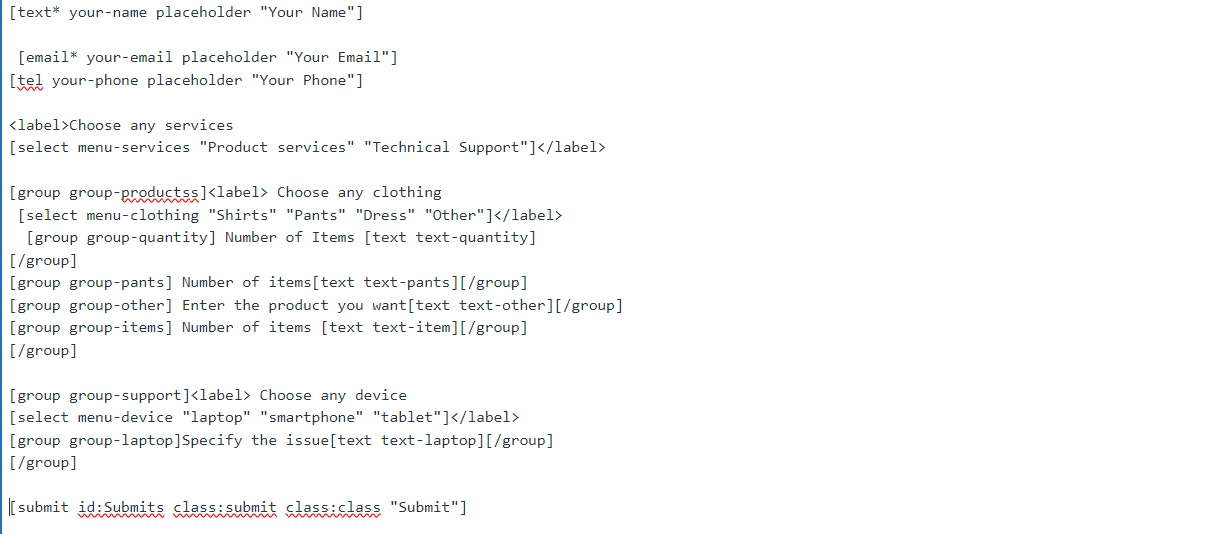
Step12: This is the final form template after inserting all the tags.

Driven by a relentless desire to learn and grow, I find myself exploring the domains of technology and web development. With boundless passion I am dedicated to progressing in my career and making significant contributions to the tech sector.


